Introduction: Why Red Velvet Cake is a Crowd Favorite
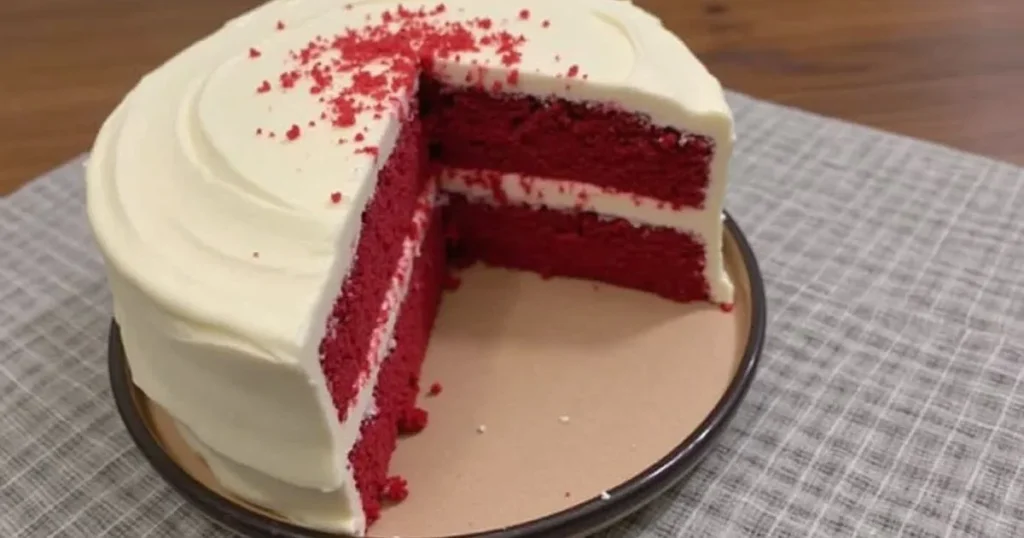
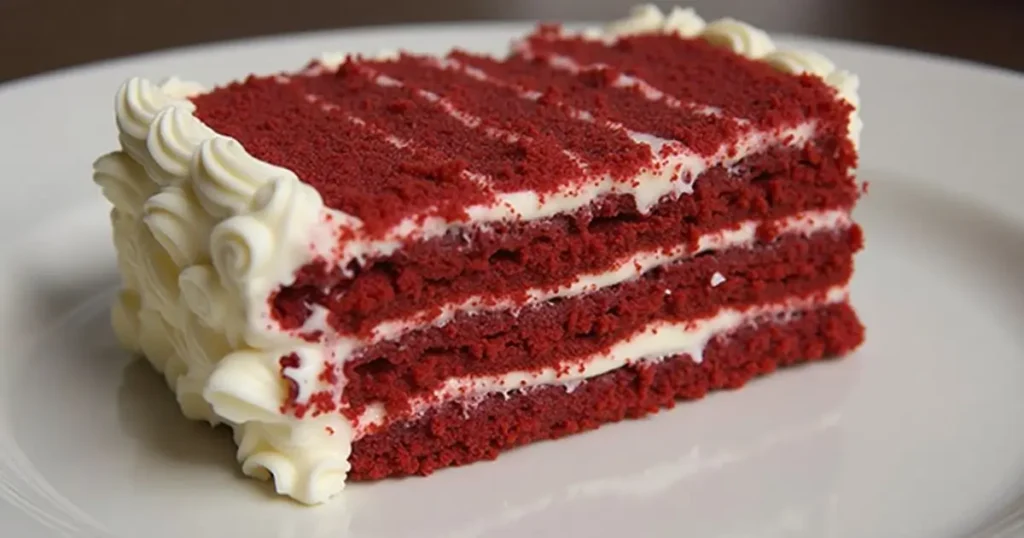
Red Velvet Cake Recipe is one of those desserts that always stands out at any event. It’s not just the vibrant color that grabs attention—it’s the unique flavor and texture combination that makes it irresistible. The slight chocolate flavor, the tang of cream cheese frosting, and the moist, velvety crumb make this cake an unforgettable treat. Whether you’re preparing for a special celebration or just indulging in something delicious, learning how to bake the best red velvet cake from scratch will make you the hero of any occasion. Let’s dive into the step-by-step process of making this iconic cake, starting with the basics.
Table of contents
- Introduction: Why Red Velvet Cake is a Crowd Favorite
- What Makes Red Velvet Cake Recipe Special?
- Essential Ingredients for Red Velvet Cake Recipe
- Choosing the Right Ingredients for Success
- Step-by-Step Guide to Making Red Velvet Cake Recipe
- Making the Cream Cheese Frosting
- Decorating Your Red Velvet Cake Recipe
- How to Store and Serve Red Velvet Cake Recipe
- Conclusion: Your Perfect Red Velvet Cake Awaits
- Frequently Asked Questions (FAQs)
What Makes Red Velvet Cake Recipe Special?
Red velvet cake isn’t just visually striking—it offers a balance of flavor, texture, and history that makes it a standout dessert.
- A Bold Color with a Delicate Taste: The brilliant red color is what makes this cake visually stunning. Initially, the red hue came from a chemical reaction between cocoa powder and acidic ingredients like vinegar, but today, most recipes rely on food coloring. Despite its vibrant color, the flavor is subtle, with a light chocolate taste balanced by a slight tang from buttermilk.
- The Unique Flavor Profile: Unlike traditional chocolate cake, red velvet has a gentler chocolate flavor due to the small amount of cocoa powder used. What makes it different is the combination of the cocoa, tangy buttermilk, and a hint of vanilla, which creates a more nuanced taste.
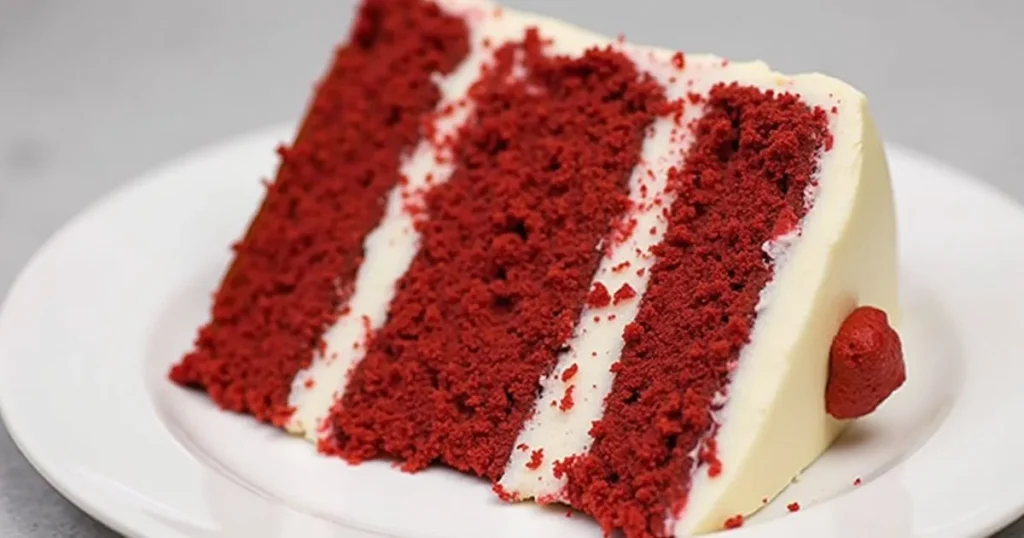
- The Soft, Moist Texture: The secret to red velvet’s melt-in-your-mouth texture is the use of oil instead of butter, which helps keep the cake moist. Buttermilk also adds to the cake’s tenderness. The result? A soft, delicate crumb that complements the creamy frosting.
- The Cream Cheese Frosting: Perhaps the most famous part of red velvet cake is the cream cheese frosting. Its rich, tangy flavor balances the cake’s mild sweetness, creating a perfect harmony of flavors. The smooth texture of the frosting also contrasts beautifully with the cake’s light crumb.
Essential Ingredients for Red Velvet Cake Recipe
Making a red velvet cake from scratch is all about using the right ingredients. Here’s a breakdown of what you’ll need to create this cake, along with their role in the recipe.

Ingredients for the Cake
| Ingredient | Purpose |
|---|---|
| All-purpose flour | Provides structure for the cake |
| Unsweetened cocoa powder | Adds a faint chocolate flavor without overwhelming the cake |
| Baking soda | Helps the cake rise and gives it a fluffy texture |
| Buttermilk | Adds tang and helps keep the cake moist |
| Vegetable oil | Keeps the cake moist and soft |
| Eggs | Bind the ingredients together and provide structure |
| Red food coloring | Gives the cake its signature vibrant color |
| White vinegar | Enhances the reaction with baking soda for a lighter cake |
| Vanilla extract | Adds flavor and depth |
| Salt | Balances sweetness and brings out the other flavors |

Ingredients for the Cream Cheese Frosting
| Ingredient | Purpose |
|---|---|
| Cream cheese | The key ingredient that gives frosting its rich, tangy flavor |
| Unsalted butter | Adds creaminess and richness |
| Powdered sugar | Sweetens the frosting and ensures smooth consistency |
| Vanilla extract | Adds flavor and a hint of sweetness |
| Salt | Helps balance the sweetness and intensifies the frosting flavor |
Choosing the Right Ingredients for Success
To ensure your red velvet cake is a true success, let’s look at some ingredient tips:
- Flour: Stick with all-purpose flour for the perfect structure. Avoid cake flour because it has less protein, which could affect the texture of your cake.
- Cocoa Powder: Opt for high-quality unsweetened cocoa powder. The best option is Dutch-processed cocoa, which gives the cake a richer, darker color and deeper flavor.
- Buttermilk: Fresh buttermilk is crucial for the cake’s moisture. If you don’t have any, you can make a quick substitute by adding a tablespoon of white vinegar or lemon juice to a cup of milk. Let it sit for a few minutes before using it.
- Red Food Coloring: To achieve a bright red hue, use gel food coloring. It’s more concentrated, which means you need less and it won’t affect the batter’s texture. Liquid food coloring may alter the consistency of your cake.
- Vinegar: White vinegar is essential to activate the baking soda. This reaction helps the cake rise and ensures a light, airy texture.
Step-by-Step Guide to Making Red Velvet Cake Recipe
Ready to bake? Here’s how you can make the perfect red velvet cake with minimal effort and maximum flavor.
1. Preheat the Oven and Prepare the Pans
Start by preheating your oven to 350°F (175°C). Grease two 9-inch round cake pans with butter or cooking spray and lightly dust them with flour. If you prefer, you can line the bottom of the pans with parchment paper to ensure the cakes come out easily once baked.
2. Sift the Dry Ingredients
In a medium-sized bowl, sift together the all-purpose flour, cocoa powder, and salt. This step ensures there are no lumps and that the dry ingredients are evenly combined. Sifting also helps your cake batter become light and fluffy.
3. Combine the Wet Ingredients
In a large bowl, whisk together the eggs, buttermilk, vegetable oil, and vanilla extract. Once combined, stir in the red food coloring and white vinegar. Make sure everything is mixed thoroughly to get a consistent color and texture.
4. Add the Dry Ingredients to the Wet Mixture
Gradually add the sifted dry ingredients to the wet mixture. Use a spatula or hand mixer on a low setting to gently combine the ingredients. Be careful not to overmix, as this could result in a dense cake. Stir until everything is just incorporated and the batter is smooth.
5. Bake the Cake
Pour the batter evenly into the prepared cake pans. Smooth out the tops with a spatula and place the pans in the preheated oven. Bake for 25-30 minutes, or until a toothpick inserted into the center of the cakes comes out clean. Make sure to check the cakes a few minutes before the recommended baking time to avoid overbaking.
6. Cool the Cakes
Let the cakes cool in the pans for about 10 minutes before transferring them to wire racks to cool completely. This prevents the cakes from breaking apart and allows them to firm up for frosting.
Making the Cream Cheese Frosting
The frosting is just as important as the cake itself. Here’s how you can make the creamy, tangy frosting that will take your red velvet cake to the next level.
1. Beat the Cream Cheese and Butter
Ensure that both the cream cheese and butter are at room temperature. In a large mixing bowl, beat the cream cheese and butter together until they’re smooth and creamy. This process will give you a light, airy texture in your frosting.
2. Add Powdered Sugar
Gradually add the powdered sugar, one cup at a time, and continue to beat until it’s fully incorporated. The frosting should become thick, smooth, and creamy.
3. Add Vanilla and Salt
Add a teaspoon of vanilla extract and a pinch of salt to the frosting. The salt will help balance out the sweetness, while the vanilla adds depth and flavor.
4. Frost the Cake
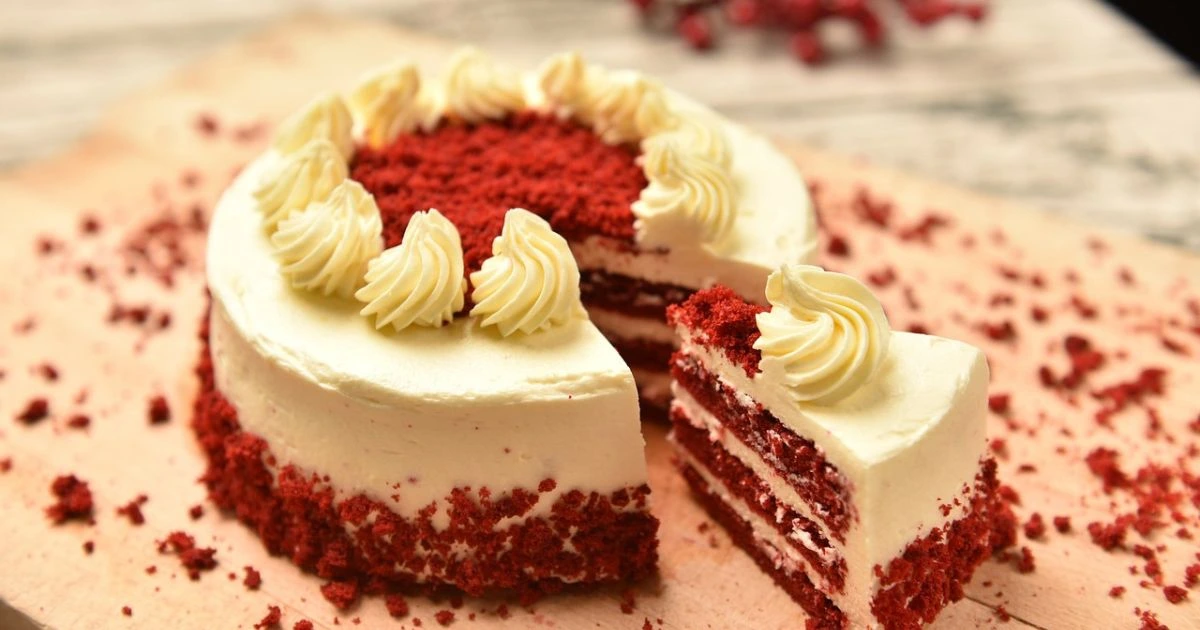
Once the cake has completely cooled, it’s time to frost. Place the first layer of cake on a serving plate or cake stand. Spread a layer of frosting on top. Add the second layer of cake and apply frosting to the top and sides. Use a spatula to smooth out the frosting or pipe decorative swirls along the edges for a more polished look.
Decorating Your Red Velvet Cake Recipe
Decorating your red velvet cake is the fun part! Here are some decoration ideas:
- Crumb Coat: Apply a thin layer of frosting (called a crumb coat) to seal in any crumbs. Then, refrigerate the cake for 20 minutes before applying the final coat of frosting.
- Piping Designs: Use a piping bag with a decorative tip to make elegant rosettes or borders around the cake.
- Additional Toppings: You can add fresh berries, chocolate shavings, or even edible flowers to give your cake a more sophisticated touch.
How to Store and Serve Red Velvet Cake Recipe
To keep your red velvet cake fresh:
- Refrigerating: Store your cake in an airtight container in the fridge because of the cream cheese frosting. It will stay fresh for up to 5 days.
- Freezing: If you want to freeze your cake, wrap the cake layers tightly in plastic wrap and foil. Store in the freezer for up to two months. Thaw at room temperature before frosting.
- Serving: Let your cake come to room temperature before serving for the best flavor and texture.

Conclusion: Your Perfect Red Velvet Cake Awaits
Now that you know how to make the best red velvet cake with cream cheese frosting, it’s time to get baking! Follow each step carefully, and you’ll have a cake that’s as delicious as it is beautiful. Whether you’re celebrating a special occasion or treating yourself, this cake is sure to impress.
Frequently Asked Questions (FAQs)
- Can I use another type of food coloring?
Yes, you can experiment with different food coloring options, but gel food coloring is preferred because it’s more concentrated and won’t alter the cake’s texture. - What should I do if the cake is too dry?
Dryness can occur if the cake is overbaked or overmixed. Ensure you’re not mixing too vigorously and check the cake before the recommended baking time. - Can I substitute the cream cheese frosting with something else?
You can use buttercream frosting, but the tangy flavor of cream cheese is part of what makes red velvet cake so unique. - Can I make red velvet cupcakes?
Yes, you can turn this recipe into cupcakes. Just reduce the baking time to 18-22 minutes and check with a toothpick. - How long will this cake last?
When stored properly in the fridge, red velvet cake will stay fresh for about 5 days.

