Introduction
If you’re a cheesecake lover, you’ve probably heard of the famous San Sebastián cheesecake. Hailing from Spain’s Basque Country, it’s a creamy, velvety dessert with a dark, caramelized top that makes it truly unique. Fortunately, you don’t need to travel all the way to Spain to enjoy it. You can easily make this delicious treat in your own kitchen! In this guide, I’ll show you exactly how to recreate this rich and smooth dessert at home, step by step.
Table of contents
- Introduction
- What is San Sebastián Cheesecake?
- Ingredients You’ll Need
- Tools You’ll Need to Make San Sebastián Cheesecake
- Step-by-Step Guide to Making San Sebastián Cheesecake
- Tips for Perfect San Sebastián Cheesecake
- Serving and Pairing Your Cheesecake
- Why You Should Make This San Sebastián cheesecake at Home
- Conclusion
- FAQs
What is San Sebastián Cheesecake?
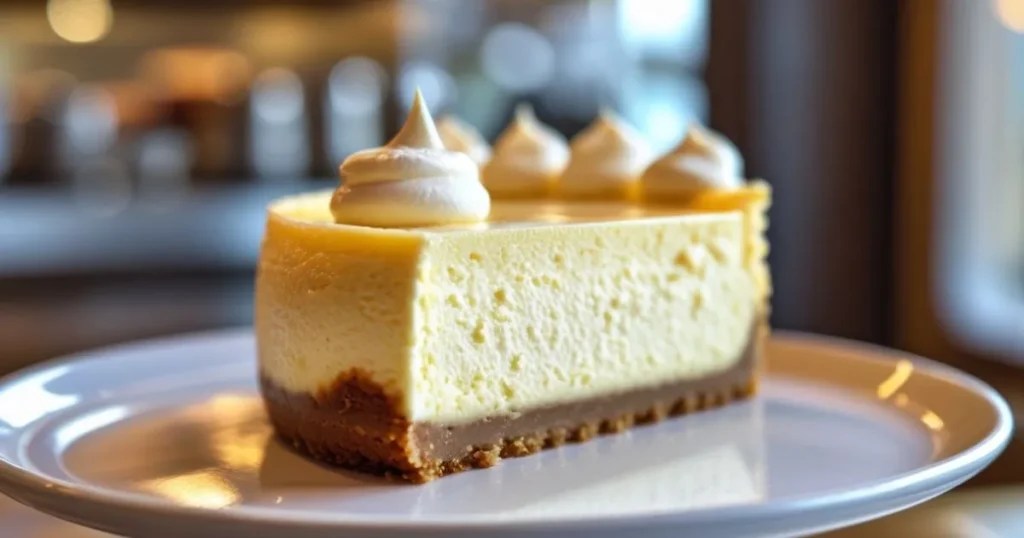
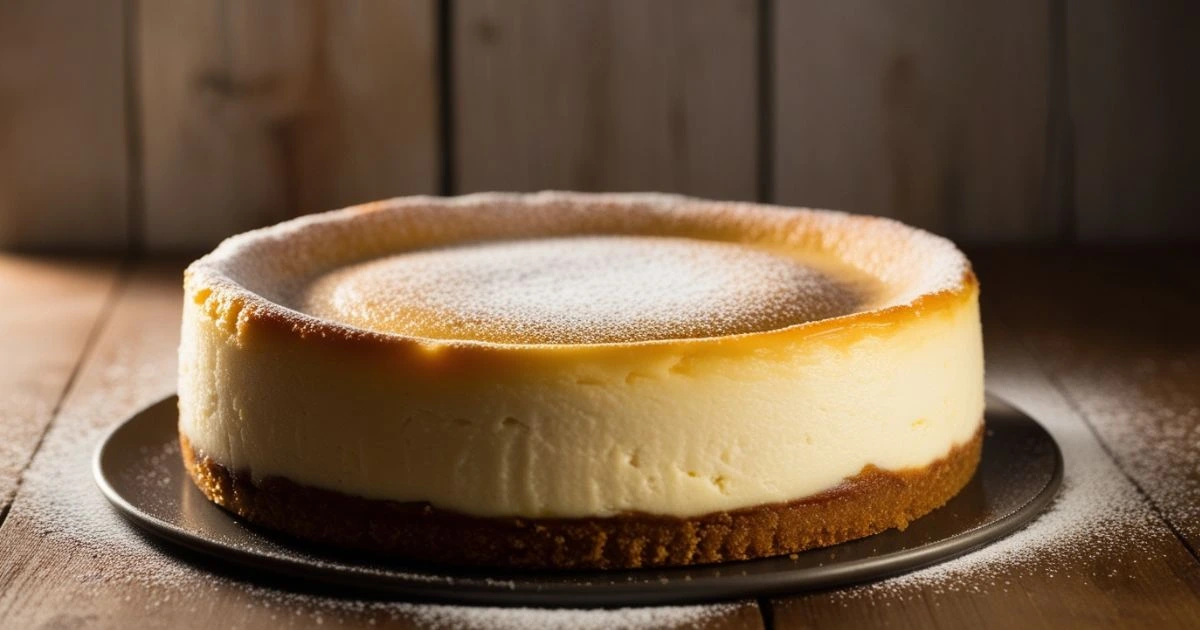
San Sebastián cheesecake, also known as La Tarta de Queso, is a simple yet elegant dessert that’s gained popularity for its rich, custard-like filling and its signature burnt top. Originally created at the La Viña restaurant in the 1990s, this cheesecake has since become a global sensation. What sets it apart from other cheesecakes is its minimalistic design—there’s no crust, and the filling is both rich and creamy. Simply put, it’s a cheesecake you won’t forget!
Why Is It So Special?
- Texture: The inside is smooth, creamy, and custard-like, almost melting in your mouth.
- Flavor: The cheesecake has a balanced sweetness with a slight tang from the cream cheese, making it unique.
- Appearance: The top is intentionally darkened, giving it that signature slightly burnt look, which enhances the flavor.
Ingredients You’ll Need
Before we start baking, let’s gather everything you’ll need. Fortunately, the ingredients list is short, and you may already have most of these items in your kitchen. Here’s the breakdown:
| Ingredient | Amount |
|---|---|
| Cream Cheese | 600g |
| Heavy Cream | 250ml |
| Eggs | 4 large |
| Granulated Sugar | 200g |
| All-purpose Flour | 1 tbsp |
| Vanilla Extract | 1 tsp |

Tools You’ll Need to Make San Sebastián Cheesecake
Now that you have your ingredients, let’s talk about the tools. Here’s what you’ll need to make sure your cheesecake turns out perfectly:
- 9-inch Springform Pan: This is crucial for easy removal and to achieve that tall, beautiful shape.
- Electric Hand Mixer: If you don’t have one, you can still make it by hand, but it will take longer. The mixer ensures your batter is smooth and lump-free.
- Parchment Paper: It helps prevent sticking and allows for a clean release from the pan.
- Oven Thermometer: This is optional, but it can be very helpful. Oven temperatures can vary, and an oven thermometer will ensure you’re baking at the correct temperature.
Step-by-Step Guide to Making San Sebastián Cheesecake
1: Prep Your Pan and Preheat the Oven
- Line Your Pan with Parchment Paper: Begin by cutting a sheet of parchment paper to fit the bottom and sides of your springform pan. Be sure to leave a little extra hanging over the edges—it will help you lift the cheesecake out later.
- Preheat the Oven: Set your oven to 200°C (390°F). The high temperature is important for getting that burnt top while keeping the filling creamy.
2: Make the Cheesecake Batter
- Mix the Cream Cheese and Sugar: In a large mixing bowl, combine the cream cheese and sugar. Beat them together using your hand mixer until the mixture is smooth and creamy. Don’t rush this step—it’s key to achieving that velvety texture.
- Add the Eggs: Crack the eggs into a separate bowl, then add them one at a time to the cream cheese mixture, mixing well after each addition.
- Add Flour and Vanilla: Sift the flour into the batter to avoid lumps. Stir in the vanilla extract for a touch of sweetness and depth.
- Whisk in the Heavy Cream: Finally, slowly add the heavy cream and mix everything together until you have a smooth batter.
3: Bake the Cheesecake
- Pour the Batter into the Pan: Carefully pour your cheesecake batter into the prepared pan. Tap the pan gently on the counter to remove any air bubbles and ensure the batter is evenly distributed.
- Bake: Place the pan in the preheated oven and bake for 45-50 minutes. The cheesecake should turn golden brown on top, with a slightly jiggly center. Don’t worry if the top cracks a little—this is completely normal.
- Cool in the Oven: After baking, turn off the oven and leave the door slightly ajar for about 10 minutes. This step helps prevent the cheesecake from sinking. Then, remove it from the oven and let it cool completely at room temperature.
4: Chill and Serve
Once your cheesecake has cooled to room temperature, transfer it to the fridge and chill for at least 4 hours. However, if you can wait overnight, that’s even better! The cheesecake will set and develop even more flavor.
When you’re ready to serve, carefully lift the cheesecake out of the pan using the parchment paper. Slice and enjoy!

Tips for Perfect San Sebastián Cheesecake
Don’t Overbake It!
One of the most common mistakes people make is overbaking their cheesecake. The key is to remember: the cheesecake should still have a slight jiggle in the center when you take it out of the oven. This ensures the perfect creamy texture once it cools.
How to Get the Perfect Caramelized Top
The dark, caramelized top is what makes San Sebastián cheesecake so unique. Here’s how to achieve it:
- Monitor the Temperature: Make sure your oven is at the correct temperature—too high and the top will burn; too low and it won’t caramelize properly.
- Use the Right Pan: A light-colored pan will distribute the heat more evenly, ensuring the top gets the perfect color without burning too much.
Serving and Pairing Your Cheesecake
While San Sebastián cheesecake is delicious on its own, there are plenty of ways to enhance the experience. Here are a few ideas to try:
- Fresh Berries: Add a few fresh berries on top for color, flavor, and a bit of tartness that complements the sweetness of the cheesecake.
- Caramel Drizzle: For an extra indulgent touch, drizzle some caramel sauce over the top.
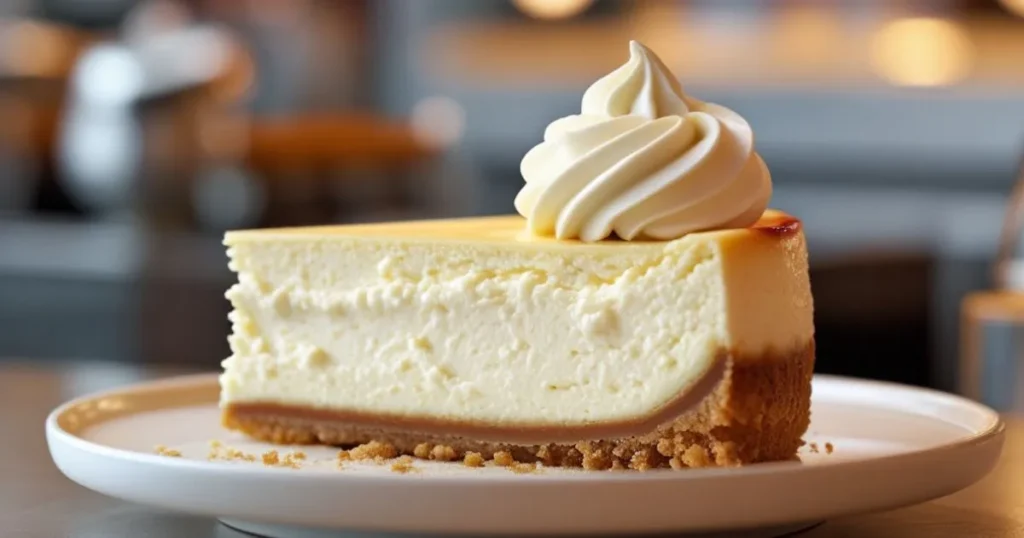
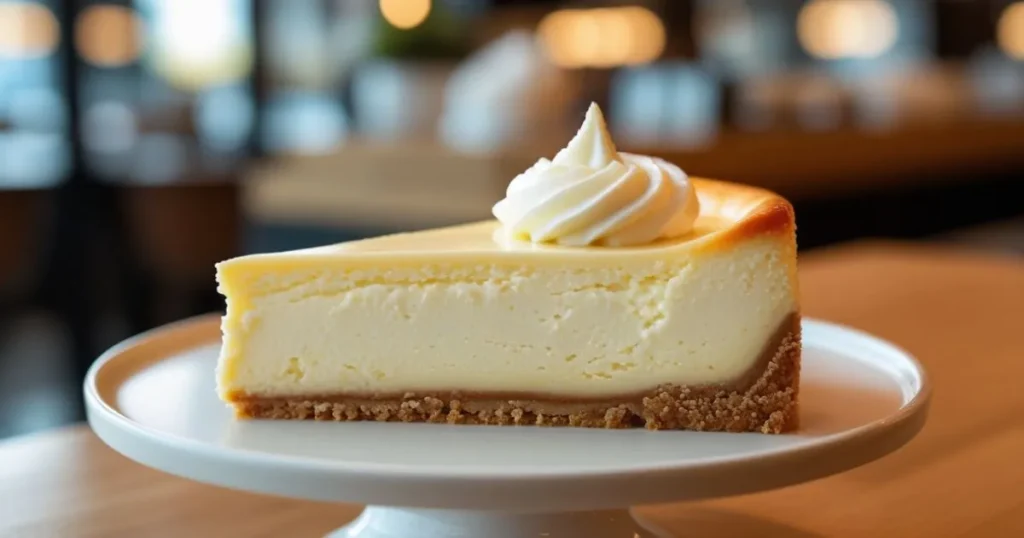
- Whipped Cream: A dollop of lightly sweetened whipped cream adds a nice balance to the richness of the cheesecake.
What Drinks Pair Well with This San Sebastián Cheesecake?
- Coffee: A rich black coffee or espresso complements the creamy texture of the cheesecake.
- Tea: For a lighter option, green tea or chamomile works nicely.
Why You Should Make This San Sebastián cheesecake at Home
Making San Sebastián cheesecake at home allows you to control every aspect of the dessert, from the texture to the caramelized top. Plus, it’s easier than you might think! Not to mention, there’s something so satisfying about serving a homemade dessert that tastes just as amazing as the one you’d get at a bakery.

Conclusion
Now that you know exactly how to make an authentic San Sebastián cheesecake at home, it’s time to get started! With just a few ingredients and a little bit of patience, you can enjoy a rich and creamy cheesecake with that signature burnt top. So, what are you waiting for? Preheat your oven, gather your ingredients, and start baking today!
FAQs
How long does this cheesecake last?
San Sebastián cheesecake will stay fresh for up to 4 days in the fridge when stored in an airtight container.
Can I make this cheesecake ahead of time?
Yes, in fact, it’s often better to make it the day before you plan to serve it so that the flavors have time to develop.
Is there a gluten-free version of San Sebastián cheesecake?
Yes! Simply omit the flour, or replace it with cornstarch for a gluten-free option.
Can I use a different type of cheese?
While cream cheese is traditional, you could also try mascarpone for a richer texture or ricotta for a lighter alternative.
Why did my cheesecake crack?
Cracking is often caused by overbaking or cooling the cheesecake too quickly. To avoid this, let it cool gradually in the oven with the door slightly ajar and ensure the temperature is right while baking.
Time to Bake!
Feeling ready to bake your own San Sebastián cheesecake? Go ahead and gather your ingredients, follow the steps, and enjoy this delicious treat in no time! Don’t forget to share your results—tag us on social media to show off your beautiful, homemade cheesecake! 🍰

